Fortnite Height Decisions: Check the Structure, Cover and Next Move
A higher view can be useful without being a complete plan. In building and no-build playlists, inspect the support, exposure and way down before spending the squad’s options to gain height.
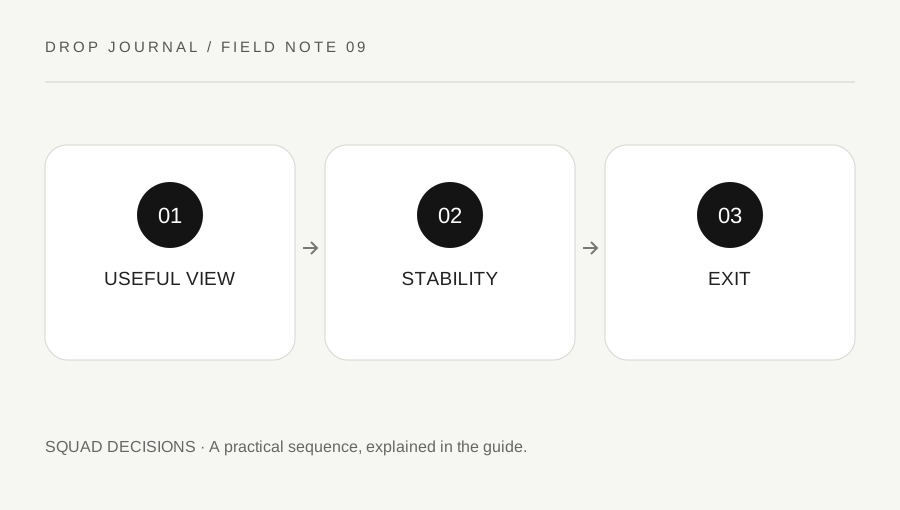
Original explanatory diagram. Examples illustrate a method or decision; they are not claims of personal testing.
Identify the reason to go higher
State what the position lets you observe or control: a crossing, an opponent's cover or a route the squad needs. Height without a useful view can consume time and resources while leaving the next decision unchanged.
Check the current playlist and terrain. A build-enabled match can create new positions, while Zero Build depends more on existing elevation and supported movement tools. An island with custom rules may behave differently again. Read the mode rather than assuming a remembered movement option is available.
Keep the goal tied to the team. A solo climb that leaves a partner unable to support the angle may create two disconnected fights. Ask whether both players can use the position or whether one has a clear complementary role from below.
Inspect what the position depends on
For a constructed position, look at the supporting geometry and how opponents can pressure it under the current rules. Do not build upward indefinitely without thinking about resources, movement and the consequences of losing support. This guide does not prescribe permanent damage or fall values.
For natural elevation, inspect the sides, rear and nearest cover. A hill can provide a good forward view while exposing a silhouette to another direction. A roof edge can hide the space immediately below. Name those blind spots before interpreting the view as complete information.
For a worked example, a player gains a tall position but cannot move laterally without leaving cover. The squad compares a lower nearby angle with a safer transition. The decision concerns useful protection and options, not a rule that the highest available point must always be held.
Keep a route down that fits the actual kit
Identify how you will leave if the storm, pressure or objective requires movement. A descent that depends on equipment you do not have is not a plan. Likewise, a route only one teammate can use may not support a shared reposition.
In a building-enabled context, avoid spending every resource merely to reach a spot if the next movement needs those resources too. In a no-build context, inspect the existing descent and landing cover. Do not assume an old mobility item remains in the current pool.
Communicate the next position before dropping. A sudden unannounced descent can leave a partner holding an angle that no longer supports you. The landing or exit matters as much as the first shot from above, especially when the lower route is visible to another squad.
Review the position through its full use
After the encounter, describe what the height enabled, what it exposed and whether the exit worked. Damage dealt from above is only part of the result. A strong opening can still end in an avoidable trap if the squad ignores the next movement.
Choose a specific practice question for a later session, such as checking a rear angle before settling or counting the resources needed for a planned construction. Keep it within ordinary supported play rather than relying on an exploit or a fragile assumption about map geometry.
Finish with a simple three-part note: useful view, protection, exit. This makes height a tool for a decision rather than a status to preserve at any cost. It also helps distinguish a positioning problem from an aiming problem when the last exchange went badly despite an apparently advantageous elevation.
A practical checklist
Choices are saved in this browser. Reset them here or clear this site’s browser storage.
Questions that come up
Is the tallest structure always the best position?
No. Support, cover, resources and the exit can make a lower position more useful.
Can I assume last season’s mobility item is available?
No. Check the current playlist and inventory before relying on a movement option.
Does damage from above prove the position was good?
Not by itself. Review exposure, squad support and the subsequent movement as well.
References & scope
Background references checked on 18 October 2026. Worked examples and diagrams are original teaching material.